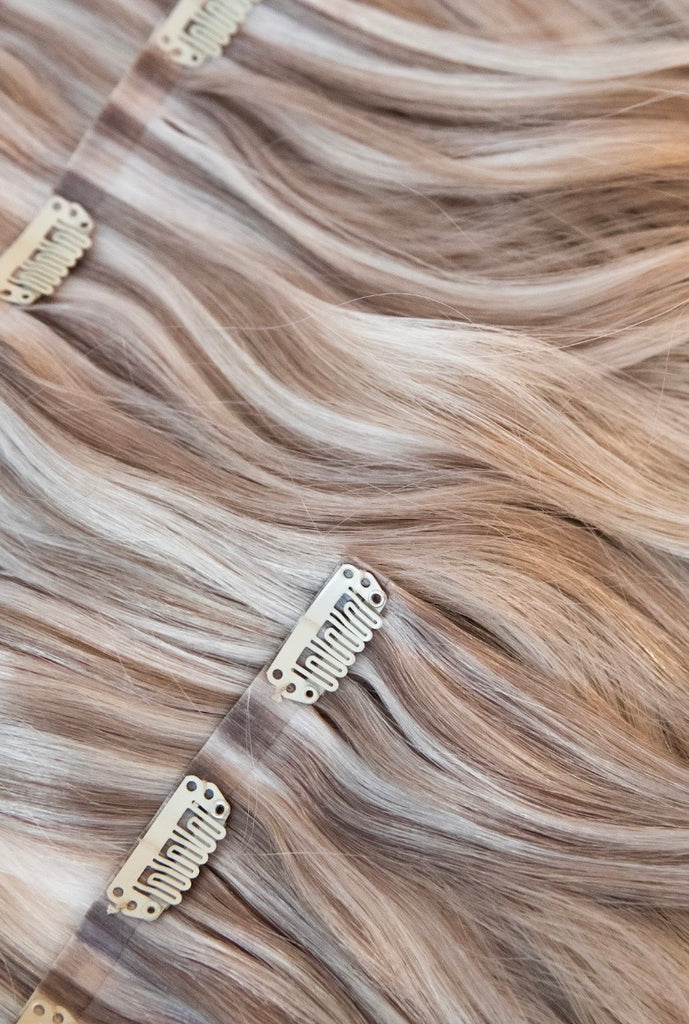
If you're looking for a quick and easy way to add volume, length, or a pop of color to your hair, QALI clip-in hair extensions are the perfect solution. Whether you're based in Vancouver, ordering online in Canada, or anywhere else in the world, QALI clip-ins are designed to be simple to install while providing a natural, seamless look. In this blog post, we'll walk you through the process of installing QALI clip-in hair extensions, step by step, and explain how these simple hair extensions can transform your look in minutes.
Why Choose QALI Clip-In Hair Extensions?
QALI clip-in hair extensions are designed for ease of use and versatility. Each set comes with only three rows of clip-ins, making them simple and efficient to install. These extensions are perfect for those who want a quick hair transformation.
What makes QALI clip-ins stand out?
- 3-row design for simple installation: QALI clip-ins come with three rows to ensure a straightforward application, even for beginners.
- Versatile for different hair densities: Whether you have fine or thick hair, QALI clip-ins work for everyone.
- Natural look: They blend seamlessly with your natural hair, providing length, volume, and fullness.
- Range of shades and lengths: Available in 10 different shades and two lengths (16" & 20"), you'll easily find the perfect match for your hair.
Installing clip-in hair extensions might seem daunting at first, but with QALI clip-ins, it’s as simple as 1-2-3! Here's how you can do it:
1. Prep Your Hair
Before clipping in your extensions, you’ll want to prep your hair properly for the best results. This helps the clip-ins stay in place and prevents any slipping.
- Start with clean, dry hair.
- Add a texturizing product such as dry shampoo, hairspray, or dry texturizing spray to add some grit and texture. This will help the clips grip onto your natural hair better and prevent slippage throughout the day.
2. Start with the First Row at the Nape of Your Neck
- Create a clean section at the nape of your neck (the lower part of your head) using a fine-tooth comb.
- This section will be where you place the smallest of the QALI clip-ins row.
- Before clipping in, backcomb the roots slightly in this section to add more grip and texture to hold the clip-in in place.
- Gently clip in the first row of QALI clip-ins, securing them as you would a barette—placing the clips at the roots and snapping them shut.
3. Create the Horseshoe Section for the Second Row
- Next, create a horseshoe-shaped section that goes around the middle of your head, from one ear to the other.
- This section should be slightly above the first row of clip-ins you just installed.
- Add more texture to this section with your dry shampoo or hairspray and backcomb the roots slightly for added volume.
- Begin clipping in the second row, starting with the middle clip and working your way outwards to the right side of your head. After securing the right side, go back to the middle and work your way to the left side. This technique ensures that the clip-ins are positioned symmetrically and won’t end up too far forward on one side of your head.
4. Install the Third Row (Optional)
- The third row is ideal for individuals with thicker hair or those looking to achieve maximum volume and length. It’s also great for special events like weddings or photoshoots when you need that extra fullness.
- If you have fine to regular-density hair, you may find that two rows of QALI clip-ins (the bottom row and one ear-to-ear row) are enough to achieve the desired look.
- For thicker hair or more dramatic length and volume, add the final row following the same technique as the second row.
- Again, don’t forget to add texture and backcomb the section slightly to ensure the clip-ins stay securely in place.
Tips for Maintaining Your QALI Clip-In Hair Extensions
To get the most out of your QALI clip-in hair extensions, follow these maintenance tips:
- Store properly: When not in use, store your extensions in a cool, dry place, away from sunlight, to preserve their quality.
- Wash carefully: Use a gentle shampoo and conditioner designed for hair extensions. Wash your clip-ins by gently rinsing with lukewarm water, avoiding any harsh rubbing.
- Avoid heat damage: While QALI clip-ins are made from high-quality human hair, frequent heat styling can cause damage. Always apply a heat protectant before using styling tools.
- Brush regularly: To keep your extensions tangle-free, brush them regularly with a wide-tooth comb or a gentle detangling brush.
Installing QALI clip-in hair extensions is a simple and effective way to achieve the luscious, voluminous hair you’ve always wanted. Whether you're in Vancouver, anywhere in Canada, or ordering online, these extensions offer a natural, seamless look that’s perfect for daily wear or special occasions. The easy installation process and ability to customize the amount of clip-ins make them a fantastic choice for people with different hair types and styles.
If you're ready to try them for yourself, visit our website today and order your QALI clip-in hair extensions online—your perfect hair awaits!


Leave a comment